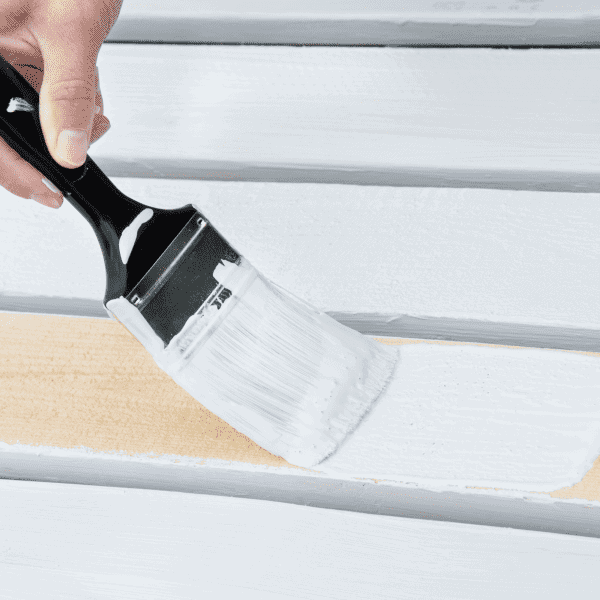
How To Prepare A Barn For Painting
If you are looking to transform your old, weather-beaten barn into a postcard-perfect farmhouse, then you should start looking at a complete paint makeover job. A barn, like any other structure, requires periodic refurbishing and a new coat of paint can help make all that needed difference. But before you start, there are a couple of things you need to do. By following these simple steps, your barn will be ready for a new lick of paint.

1. Assess and Repair
The first step to take in making a barn ready for painting is to make a full assessment of all the repairs that need to be done. Painting without preliminary assessment and repair will only make the barn appear like an updated error.
Before painting, check your barn for walls that need plastering, windows that have to be repaired, or rotting woods that should be replaced. Repairs and replacements are essential before painting in order not to coat surfaces that will soon fall apart.
2. Remove Previous Paint
The next step will be to remove previous paint from walls and other surfaces. This step can be skipped if the barn was never painted initially.
Using a paint scraper is a good way to get rid of old paint. But because this may waste time, pressure washing may be done instead, and then the parts which cannot be reached by the pressure washer can be scraped out.
After pressure washing, the wall surface should be left to dry for at least 24 hours. Wooden surfaces may take longer to dry so you should keep that in mind as well. All other surfaces to be painted must be dusted as dust may prevent paint from sticking.
3. Determine Painting Materials
There are many things you should have in mind before painting depending on the nature of a barn. For example, the color(s) to be used and the type of paint. Some really old barns, especially those made with wood might require a quality oil based primer before painting.
Some kinds of paint contain elements like lead. This can be harmful to both man and animals and should be avoided.
Before you begin to make orders for painting materials, ensure you have made a budget for the work and know exactly what to buy. Even though you are trying to keep costs down, aim for quality materials so the paint lasts longer.
4. Hire a Professional Painter
Sometimes, going about barn painting as a DIY project might be too much for you. If you don’t want to take risks and get a high quality and neat finish, hire the service of a professional painter.
Not only will this person provide a great job, but they can also provide free estimates and necessary maintenance tips. A hired painter may also be consulted for professional advice on what color, type and quality of paint coat to use.

In the process of hiring the service of a painter, you need to watch out for dubious door-to-door painters that target homes with barns so as not to fall into scams and lose money.
These scam artists typically charge upfront and disappear after they are paid. Professional painters, on the other hand, typically offer free estimates and won’t request any down payment.
Conclusion
Painting can be a way of improving a barn’s outlook. Before painting, your barn should be properly repaired and cleaned.
Paint type should be chosen based on the surface to be painted and a professional should be hired to do the job. When these steps are properly followed, your barn will be made prepared for hitch free painting.
Looking for a professional Canadian barn painting service, contact us and we will be glad to discuss your options and help you out with your project.
