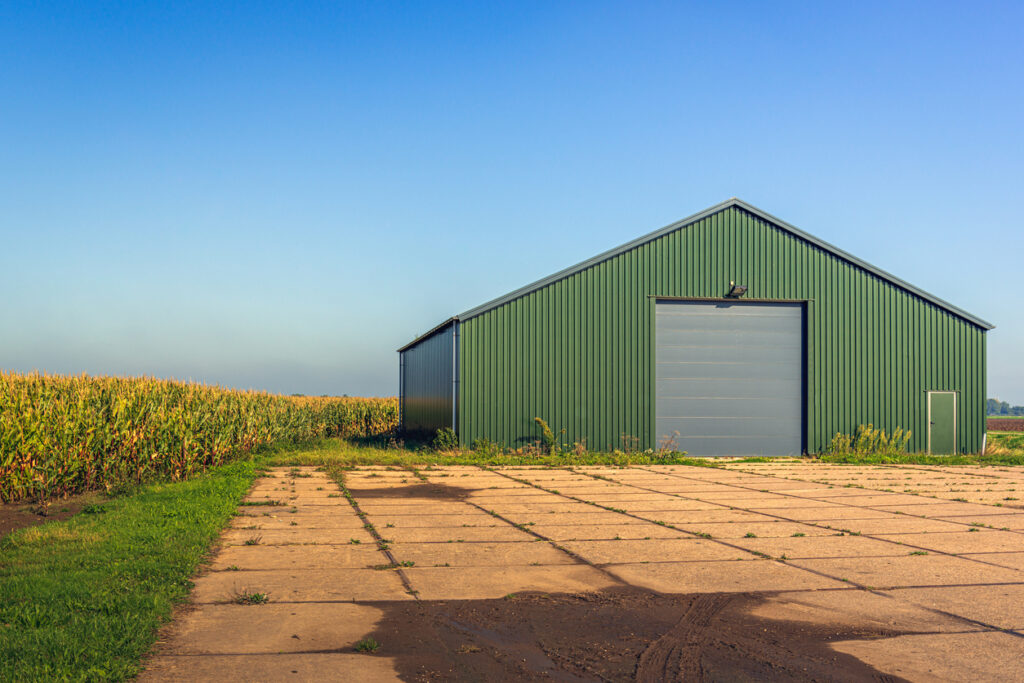
How to Prepare Your Barn for a Professional Paint Job

A professional paint job can breathe new life into your barn, enhancing its appearance and protecting it from the elements. However, achieving the best results requires thorough preparation. This guide walks you through the essential steps to prepare your barn for a professional paint job, ensuring a smooth and durable finish.
Step 1: Inspect Your Barn
Before any painting begins, a detailed inspection is necessary to identify any issues that need addressing:
- Check for Structural Damage:
- Look for any signs of structural damage, such as loose boards, broken beams, or rotting wood. Repair these issues before painting.
- Identify Mold and Mildew:
- Check for mold and mildew, especially in shaded or damp areas. These need to be removed to prevent them from spreading under the new paint.
- Assess Old Paint:
- Inspect the current paint condition. Look for peeling, cracking, or blistering, which will need to be addressed during preparation.
Step 2: Clean the Surface
A clean surface is crucial for paint adhesion and longevity. Follow these steps to ensure your barn is spotless:
- Power Wash:
- Use a power washer to remove dirt, dust, and loose paint. This will provide a clean, smooth surface for the new paint to adhere to.
- Remove Mildew:
- If you found mold or mildew during the inspection, use a mixture of water and bleach (1 part bleach to 3 parts water) to clean these areas. Rinse thoroughly and allow to dry.
- Hand Scrub:
- For areas the power washer can’t reach, use a scrub brush and mild detergent. Rinse off any soap residue and let the barn dry completely.
Step 3: Scrape and Sand
Properly preparing the surface for painting involves scraping off old paint and sanding to create a smooth base:
- Scrape Loose Paint:
- Use a paint scraper to remove any peeling or loose paint. This prevents the new paint from flaking off prematurely.
- Sand the Surface:
- Sand the entire surface to smooth out rough areas and provide a better grip for the new paint. Use medium-grit sandpaper for best results.
- Fill Cracks and Holes:
- Use wood filler to repair any cracks or holes. Sand these areas smooth once the filler is dry.
Step 4: Prime the Barn
Priming is essential for ensuring that the paint adheres properly and lasts longer:
- Choose the Right Primer:
- Select a high-quality exterior primer suitable for wood. If your barn has metal components, use a primer designed for metal as well.
- Apply Primer:
- Apply the primer evenly across the entire surface. This will seal the wood and provide a solid base for the paint.
- Allow to Dry:
- Follow the manufacturer’s instructions for drying times. Ensure the primer is completely dry before moving on to painting.
Step 5: Protect Surrounding Areas
Protecting the areas around your barn prevents accidental paint splatters and drips:
- Cover Plants and Landscaping:
- Use drop cloths or plastic sheeting to cover any plants, shrubs, and grass near the barn.
- Tape Off Windows and Doors:
- Use painter’s tape to cover edges of windows, doors, and any other areas that you don’t want painted.
- Move or Cover Equipment:
- Move any farm equipment or other items away from the barn or cover them with plastic sheeting.
Conclusion
Preparing your barn for a professional paint job requires careful attention to detail and thorough preparation. By following these steps, you ensure that your barn is ready for a fresh coat of paint, leading to a beautiful and long-lasting finish. Proper preparation not only enhances the final look but also extends the life of the paint job, protecting your barn for years to come.
Call to Action
Ready to transform your barn with a professional paint job? Contact our expert barn painting service in Ontario today for a consultation and quote. Let us help you achieve the perfect finish with our top-quality services and attention to detail.
